
How to Stop Rust on Dish Racks: Loading & Water Chemistry
This post contains affiliate links. As an Amazon Associate, we earn from qualifying purchases.
To prevent dish rack rust, you must address three specific things: protect the vinyl coating from chips, manage your water’s chemistry, and eliminate external rust sources. The most overlooked factor is water chloride content, manufacturer guidelines state it should not exceed 50 mg/L to prevent pitting corrosion, a rapid, crater-forming rust that spreads from a single point.
That 50 mg/L figure isn’t just a suggestion. It’s the line between surface stains and a failure that eats through the rack’s steel core. Pitting corrosion starts with a single breach in the protective layer, often from a scratch or a chemical imbalance, and then accelerates.
This guide walks through the diagnosis first, because treating surface rust when you have a chloride problem is a waste of time. Then we’ll cover the repair that actually lasts, the water fixes that matter, and the loading habits that stop the damage before it starts.
Key Takeaways
- Rust is often extraneous, coming from rusty pipes or cast iron pans in the wash, not the rack itself.
- Pitting corrosion is distinct and serious; it requires checking your water’s chloride levels against the 50 mg/L threshold.
- A proper repair demands 8 hours of dry time for vinyl paint before the rack sees water again.
- Rinse aid is non-negotiable; it reduces surface tension so water sheets off, minimizing mineral contact time.
- For high-iron water causing brown stains monthly, an iron removal unit is the manufacturer-recommended fix, not just more cleaner.
The Three Main Causes of Dish Rack Rust (And Which One You Have)
Not all rust is created equal. Treating the wrong type means it comes back within a few cycles. You need to identify the source by its appearance and location.
Extraneous Rust is the most common. This is rust that settles on the rack from elsewhere. You’ll see it as scattered, superficial brown stains, often on the upper surfaces of tines or the rack frame. The source is something else in the dishwasher: old, unseasoned cast iron, a rusty potato peeler, or even particles from corroded home water pipes. As noted in a commercial dishwashing compendium, even washing with metallic scourers can introduce rust particles to stainless steel.
Common mistake: Scrubbing a rack with a steel wool pad to remove stains. You’re embedding microscopic rust particles into the coating, guaranteeing new spots next week.
Coating Failure starts with a physical breach. Look for a chip, scratch, or worn spot in the rack’s white or grey vinyl coating. The rust will originate from that exact point and bleed outward, creating a bullseye pattern. This is caused by impact, dropping a heavy pot directly on a tine, or abrasion from dragging metal utensils across the rack.
Pitting Corrosion is the technical term for the most aggressive failure. It appears as a small, rust-colored stain with a visible crater or pit at its center. This isn’t surface staining; it’s an electrochemical attack on the bare metal underneath. According to the AKG-GS compendium, the primary trigger is unsuitable water with high chloride content (exceeding 50 mg/L). The pit, once formed, becomes a focal point for further corrosion.
| Rust Type | Visual Clue | Primary Cause | Spreads? |
|---|---|---|---|
| Extraneous Rust | Random brown spots on coating | Rusty items in wash, pipe sediment | No, but recurs |
| Coating Failure | Bullseye of rust around a chip | Physical impact, abrasion | Yes, from chip outward |
| Pitting Corrosion | Stain with a central crater | Water chloride > 50 mg/L | Yes, rapidly deepens |
How to Fix Rust Spots and Stop Them From Spreading
Once you identify the type, the repair path is straightforward. For extraneous rust, clean it. For coating breaches, seal them. The goal is to isolate the bare steel from water and oxygen.
Step 1: Remove the Rack and Strip the Rust. You need a clean, dry, rust-free surface for paint to adhere. Use 120-grit sandpaper or a file to sand down the rust spot until you hit bare, shiny metal. For a pit, you need to sand deep enough to remove the crater’s edges. Wipe all dust away with a damp cloth, then follow with a rinse of isopropyl alcohol to degrease the area. Let it dry completely.
Step 2: Apply a Rust-Inhibiting Primer (Optional but Recommended). For pitting corrosion or large chips, a primer like Rust-Oleum Rust Reformer can be wise. It chemically converts any residual rust you couldn’t sand off into a stable, paintable surface. This adds a step but prevents a comeback.
Step 3: Seal with Vinyl Rack Paint. This is the critical barrier.
- Use a dedicated dishwasher rack repair kit like ReRACK or the Sears PartsDirect kit. Generic paint will wash off.
- Stir the paint thoroughly. Apply a thin, even coat with the included brush, painting slightly beyond the sanded area to seal the edges.
- For damaged tine tips, apply paint and immediately slide a replacement plastic cap from the kit over the wet paint. The excess will squeeze out and seal the base.
- Wipe off any squeezed-out paint with a paper towel.
Step 4: The Mandatory Dry Time. This is where DIY repairs fail. The vinyl paint needs a full 8 hours to cure at room temperature. Rushing it back into a damp dishwasher will cause the paint to lift or remain tacky, collecting grime. Let it sit overnight.
Step 5: Final Rinse. Before regular use, run an empty wash cycle with detergent (no dishes) to rinse away any loose paint residue and heat-cure the repair.
Where this goes sideways: Skipping the 8-hour dry time. The paint stays soft, peels off in the first cycle, and you’re back to square one with a gummy mess to clean.
The Water Chemistry Fixes That Actually Work
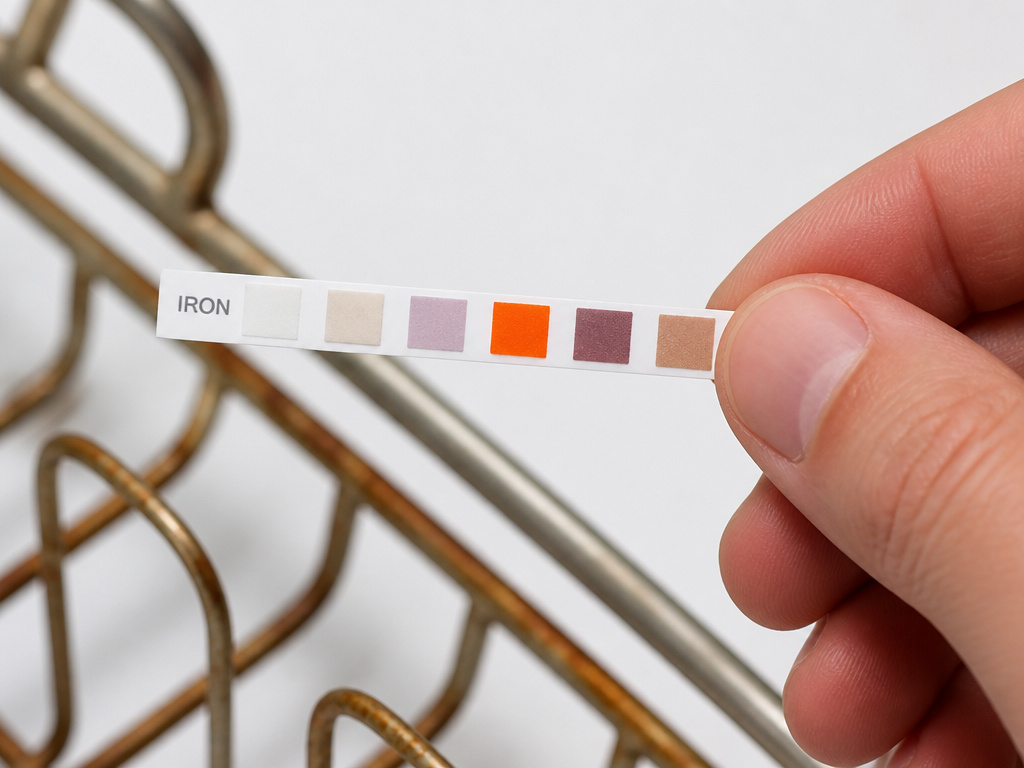 If your rust is recurrent or shows pitting, your water is the culprit. Throwing more paint at the rack won’t solve a chemical problem.
Chloride and Hard Water. The 50 mg/L chloride threshold is a hard line from equipment manufacturers. You can’t test this yourself easily, but if you live in an area with very hard water or use a softener that overflows salt (brine carry-over), you’re at risk. The solution here is a water softener properly sized and maintained for your home, not just dishwasher additives.
High Iron Content. Brown, rusty-looking stains that reappear constantly often point to high iron in your supply. Whirlpool’s product help guide states that if treatment with a cleaner like affresh Dishwasher Cleaner is needed more than once a month, installing an iron removal unit is the recommended next step, not perpetual cleaning.
The Rinse Aid Non-Negotiable. Rinse aid isn’t for spotting. Its surfactant action makes water sheet off dishes and racks, reducing the contact time between minerals and the rack coating. This directly slows coating degradation and stain formation. Keep the dispenser full.
| Water Problem | Symptom | Short-Term Fix | Long-Term Solution |
|---|---|---|---|
| High Chlorides (>50 mg/L) | Pitting corrosion | Repair pits, use rinse aid | Professional water test, whole-house softener |
| High Iron | Brown stains monthly | affresh Dishwasher Cleaner | Iron removal unit installation |
| General Hardness | White scale, dull film | Vinegar rinse, rinse aid | Water softener |
Loading Habits and Maintenance That Prevent Chips
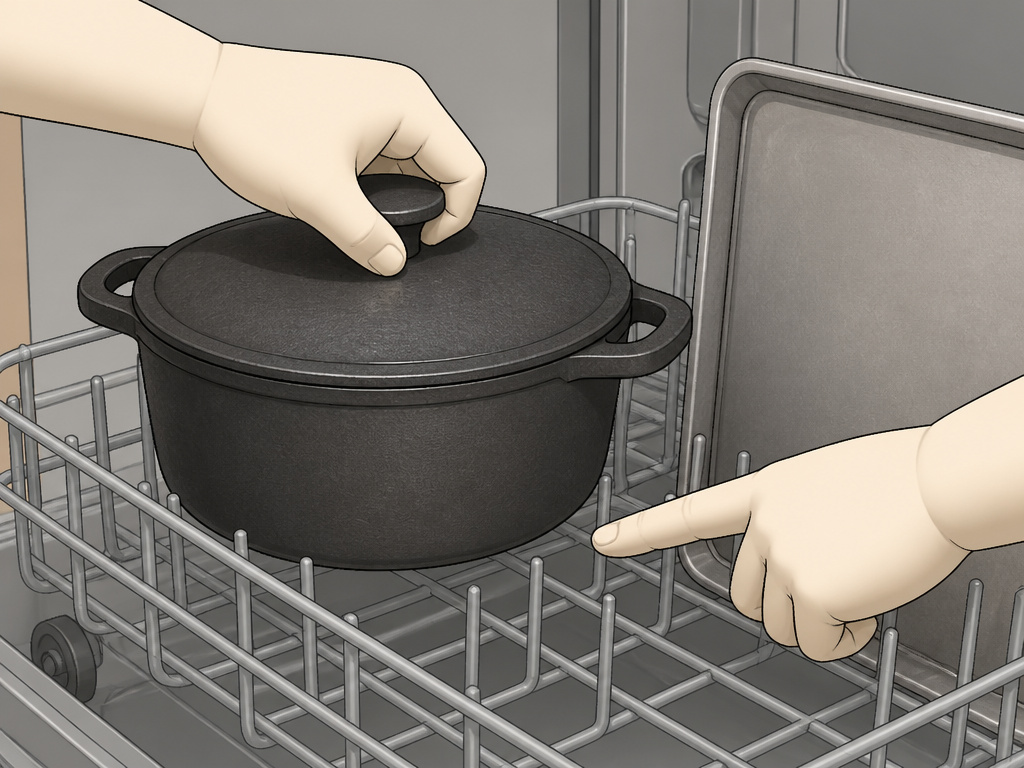 Prevention is cheaper than any repair. It comes down to how you load and what you wash together.
Load to Avoid Impact. Never drop heavy items like Dutch ovens or sheet pans directly onto the rack. Lower them gently. Arrange items so they don’t touch, especially metal-to-metal contact. The clinking during the wash cycle is abrasion happening.
Segregate Rust-Prone Items. Wash cast iron only if it’s well-seasoned. Never put rusty tools, graters, or cheap carbon steel knives in the dishwasher. Hand-wash them. If you must wash a questionable item, run it alone on a quick cycle and inspect the rack afterward.
Run Monthly Maintenance Washes. Use a dishwasher cleaner like affresh or a cup of citric acid on the hottest cycle. This removes mineral buildup from the rack coating and the machine’s internals, which can be abrasive. A clean dishwasher is a gentler dishwasher.
Inspect and Touch-Up. Every few months, pull the racks out in good light. Look for the first sign of a chip, a tiny black speck or a silver scratch. A single dab of ReRACK touch-up paint on that spot takes two minutes and prevents a full repair job later.
Easy to miss: The upper rack’s underside. Lift it out and check where the lower rack’s tines might rub against it during loading. That’s a high-friction zone for coating wear.
Frequently Asked Questions
Can I use nail polish to fix a rusty dish rack?
You can, but you shouldn’t. Nail polish is not formulated for food-safe, high-heat, wet environments. It will crack, peel, and likely dissolve, potentially contaminating dishes. A dishwasher rack repair kit uses vinyl paint designed to withstand 60°C wash cycles and drying heat.
Why does my new dishwasher rack have rust spots?
This is almost certainly extraneous rust. It could be from sediment in your home’s pipes that was dislodged during installation, or from a single wash with a rusty kitchen tool. Sharp USA’s support page lists specific models like the SDW6506JS as susceptible, indicating some coatings may be thinner. Clean the spots with a paste of baking soda and water first before assuming a defect.
Does rinse aid prevent rust?
Indirectly, yes. By promoting sheeting and faster drying, rinse aid drastically reduces the time water (and the minerals or chlorides in it) sits against the rack’s coating. Less contact time means less opportunity for chemical attack or stain bonding.
How long does a rack repair last?
Proper repair with a dedicated kit can last 2-4 years, comparable to the original coating. Its lifespan depends entirely on the water chemistry and loading habits it’s subjected to afterward. In aggressive water (high chlorides), any repair will be temporary without addressing the root cause.
Is a rusty dish rack a health hazard?
The rust itself isn’t typically a direct health hazard, but it’s a sign of degradation. Flakes of rust or compromised coating can harbor bacteria and are unsanitary. The underlying issue, whether it’s corrosive water or metal contamination, warrants fixing for appliance longevity and kitchen hygiene.
Before You Go
Stopping dish rack rust isn’t about a single magic product. It’s a system: diagnose the rust type correctly, execute the repair with patience for dry times, and then change the conditions that caused it. The 50 mg/L chloride rule is your benchmark for water quality. If rust recurs after a good repair, look there first.
Your loading technique is the final guard. Treat the racks like a non-stick pan, avoid metal scourers and careless impacts. A few mindful habits, combined with the right water treatment, will keep those racks silver and clean for the long haul.
