
Keeping Sourdough Starter in the Fridge: A Complete Guide
This post contains affiliate links. As an Amazon Associate, we earn from qualifying purchases.
Yes, you keep sourdough starter in the fridge. It’s the default for bakers who make bread less than daily. Refrigeration slows fermentation, turning daily feedings into a weekly task. The catch is a specific feeding ratio, 1 part starter to 2 parts flour and 2 parts water, and a container large enough to hold triple its volume.
That weekly feeding isn’t a suggestion; it’s a nutrient schedule. The microbes in your starter are still alive at fridge temperatures, just moving slowly. Skip a week, and they exhaust their food, producing a layer of alcohol-smelling liquid called hooch. Skip a month, and the culture turns acidic and sluggish, needing a specific revival routine.
What follows is the difference between just surviving and thriving. We’ll cover the exact weekly math, the one container mistake that invites mold, how to tell safe yeast from contamination, and the step-by-step to wake a starter for baking day. By the end, you’ll know how to maintain a starter indefinitely with ten minutes of effort a week.
Key Takeaways
- Feed a refrigerated starter weekly using a 1:2:2 ratio (e.g., 25g starter, 50g flour, 50g water) to keep it from starving and turning acidic.
- Use a lidded container that holds at least triple the starter’s volume; an open jar or cloth cover in the fridge is a direct path to mold.
- A gray liquid layer (hooch) is normal; pour it off or stir it in. Only colored or fuzzy growth means discard everything and sterilize the jar.
- To bake, pull the starter out 24–48 hours ahead and give it 1–3 room-temperature feedings until it doubles within 6–8 hours.
- Never refrigerate a new starter less than a month old; it needs consistent room-temperature feedings to establish its microbial balance first.
The Refrigerator Feeding Schedule: How Often & How Much?
This isn’t about guessing. Bob’s Red Mill specifies a 1:2:2 maintenance method for refrigerated starters: one part existing starter to two parts flour and two parts water. That ratio provides enough fresh food to last roughly seven days at 35–40°F.
Why 1:2:2 and not the common 1:1:1? At room temperature, a 1:1:1 ratio might peak in 4–6 hours. In the cold, metabolism slows, but the microbes still consume. The doubled flour in a 1:2:2 ratio acts as a larger fuel reserve, preventing the culture from starving and over-acidifying before the next weekly feeding. A starter fed 1:1:1 and refrigerated will often show a thick layer of hooch by day five.
Common mistake: Feeding and immediately refrigerating. Letting the starter sit at room temperature for 1–2 hours after feeding allows fermentation to begin, which strengthens the culture. Repeated “feed and store” cycles can weaken a starter over a couple of months.
Your container choice directly enables this schedule. King Arthur Baking recommends a vessel large enough to hold triple the volume of your starter after feeding. A pint jar is fine for 50g of starter; a quart jar is better for 100g. The extra headroom prevents a bubbly, active starter from pushing the lid off or creating a mess.
| Weekly Task | Action | If Skipped |
|---|---|---|
| Feeding | Discard all but 25g–50g starter. Feed 1:2:2 (starter:flour:water). | Starter exhausts food, produces hooch, becomes acidic and weak. |
| Container Check | Ensure lid is secure and jar has triple volume capacity. | Risk of contamination or starter pushing lid off during fermentation. |
| Temperature | Store in main body of fridge, not on the door or top shelf. | Fluctuating temps can cause premature fermentation or stalling. |
The goal is consistency. Pick a day. Sunday morning works, and stick to it. Your starter will settle into a predictable rhythm.
Signs Your Fridge Starter Needs Attention (And What They Mean)
You can’t ask a starter how it feels. You read its physical state. These are the signals, from normal to “act now.”
A dark liquid layer on top is hooch. It smells like sharp vinegar or alcohol. This is a byproduct of hungry yeast. It’s not mold. You can pour it off or stir it back in before feeding. If you stir it in, your next loaf might have a more pronounced tang.
Whitish, creamy clumps floating in the hooch or on the surface are safe yeasts. The Colorado State University Extension guide explicitly notes these are “not mold.” Don’t panic and discard a healthy culture.
Now for the bad signs. Any growth that is pink, orange, green, or black is mold. Any growth that is fuzzy or hairy is mold. If you see either, the starter is contaminated. Discard the entire contents. Wash the jar with hot, soapy water, then sterilize it with boiling water or a dilute bleach solution before starting over.
A starter that has been forgotten for a month or more will be thin, separated, and may have multiple hooch layers. It smells intensely acidic, like nail polish remover. This starter is extremely hungry and weak, but it’s often revivable. It is not necessarily contaminated.
Where this goes sideways: Assuming a neglected starter is dead. Many are just dormant. The revival process requires patience and a specific feeding plan.
How to Wake Your Starter for Baking (The Step-by-Step Reactivation)
Baking day requires a lively, predictable starter. A refrigerated starter is dormant. Waking it isn’t instant, it’s a short series of room-temperature feedings.
Step 1: Pull it out early. Take your starter from the fridge 24–48 hours before you plan to mix your dough. This gives it time to warm up and go through multiple feedings.
Step 2: Discard and feed. Pour off any hooch. Discard all but a small amount of starter, 50g is a perfect target. Feed this 50g with 100g flour and 100g water (a 1:2:2 ratio). Mark the starting level on the jar with a rubber band.
Step 3: Wait for the rise. Place the jar in a warm spot (around 70°F is ideal). A healthy, well-maintained starter should double in volume within 6 to 8 hours after this first feeding. If it doesn’t, it needs more time or another feeding.
Step 4: Feed again if needed. If after 8 hours the rise is sluggish (less than 50% increase), discard half and feed another 1:2:2 ratio. Repeat every 12 hours until the starter reliably doubles within that 6–8 hour window. This proves it’s actively fermenting and strong enough to leaven bread.
Step 5: Use it at its peak. Once the starter is domed and bubbly at the top, just before it begins to collapse, it’s at peak activity. This is the moment to mix your dough. If your timing is off, you can use peak starter straight from the fridge if it’s been less than six days since its last feeding.
The number of feedings needed depends entirely on how hungry your starter was. A weekly-fed starter might only need one. A forgotten one might need two or three. Watch the jar, not the clock.
Fridge Storage vs. Counter Storage: Which One Wins?
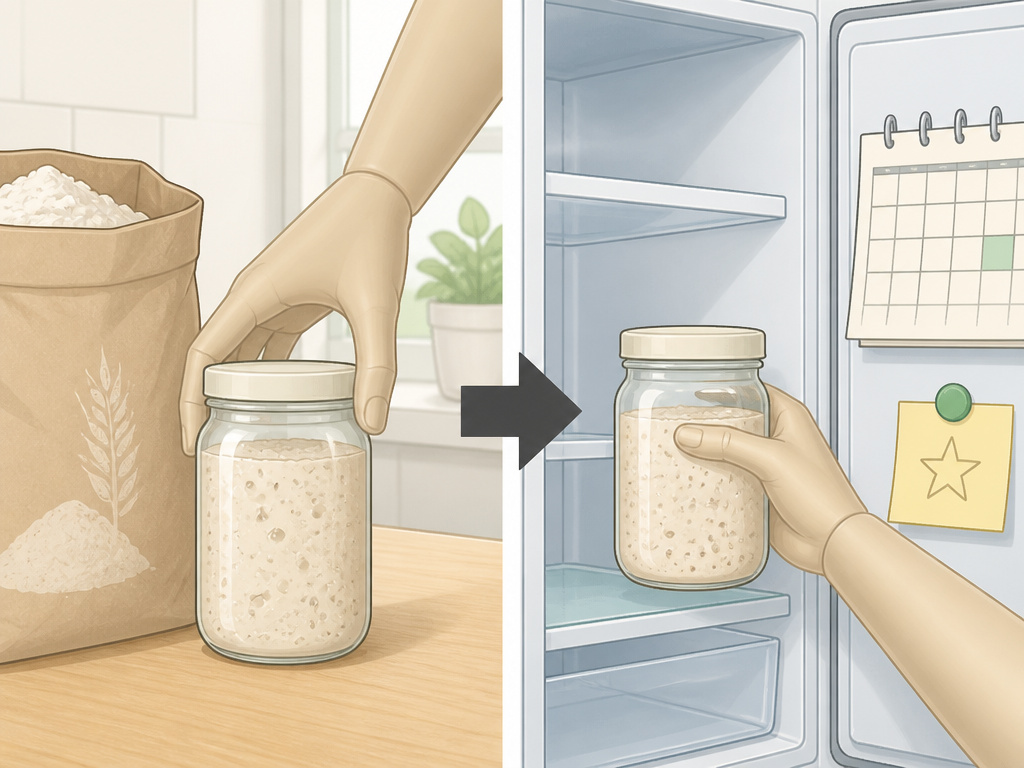
This is the core decision. Each method serves a different baking lifestyle. They are not interchangeable.
Counter storage (room temperature) demands daily feedings, usually at a 1:1:1 ratio. It’s for the daily or every-other-day baker. The starter is always ready, and you generate a lot of discard for other recipes. It’s high-maintenance but guarantees maximum activity.
Refrigerator storage is for the weekly or occasional baker. It turns daily chore into weekly check-in. The trade-off is planning ahead for baking day. The culture is stable but dormant.
| Storage Method | Feeding Frequency | Best For | Biggest Risk |
|---|---|---|---|
| Counter | Every 12–24 hours | Daily bakers, sourdough discard recipe enthusiasts. | Forgetting a feeding leads to over-acidification and collapse within days. |
| Refrigerator | Every 7 days | Weekend bakers, those baking 1–2 times per month. | Extended neglect leads to a weak, acidic starter that needs multi-day revival. |
The winner depends on your schedule. If you bake once a week or less, the fridge wins. It reduces waste, saves flour, and fits a normal life. If you’re trying a new recipe every day, the counter wins. Most home bakers fall into the fridge category.
Essential Gear for Fridge Storage Success
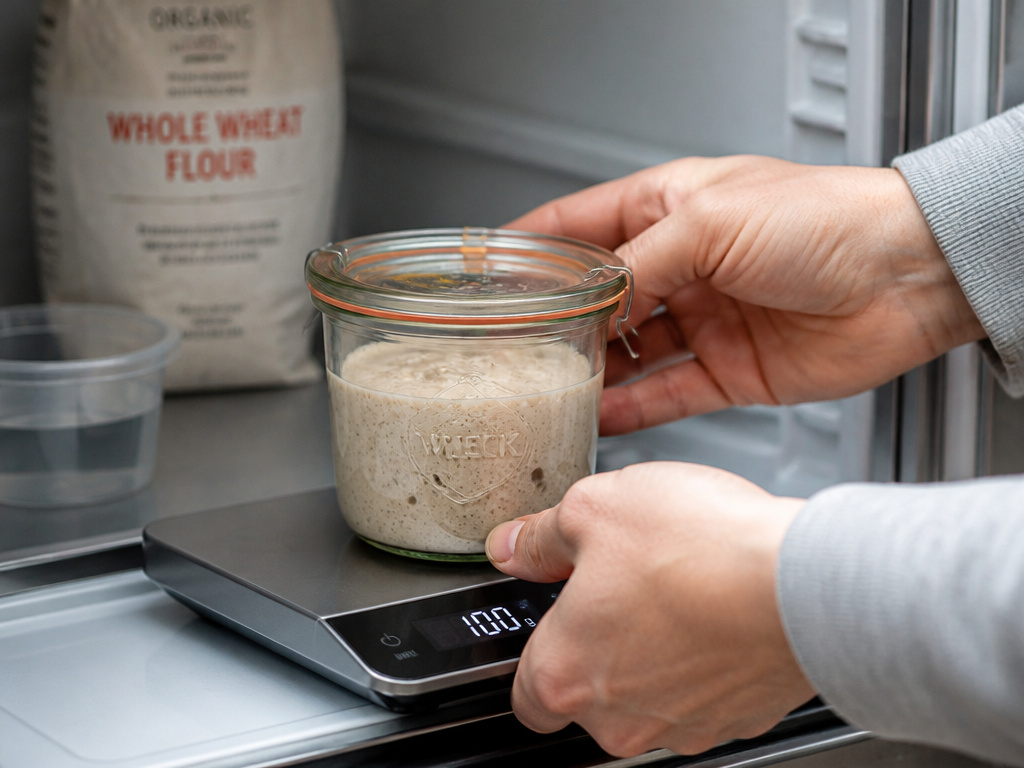
The right tools remove friction from the process. You need two things: the right jar and a reliable scale.
A good sourdough starter jar is wide-mouthed for easy scraping, has clear glass so you can monitor growth, and a lid that seals but isn’t hermetically airtight (to allow for slight gas escape). Many bakers prefer Weck jars for their glass lid and clamp system. The ideal jar size holds at least triple the volume of your fed starter, a quart jar for 100g of starter, a pint jar for 50g.
A digital kitchen scale that measures in 1-gram increments is non-negotiable. Volume measurements (cups, tablespoons) for flour are wildly inconsistent and will throw off your feeding ratios, leading to a too-thick or too-runny starter. The $20 scale you use for baking is the same one you need here.
For long-term backups beyond your active fridge jar, consider airtight glass containers. You can dry a smear of starter on parchment, crumble it, and store it in a cool, dark place for years. This is your insurance policy against a contaminated or forgotten main jar.
Frequently Asked Questions
Can I use my starter straight from the fridge?
Yes, but only under specific conditions. If your starter was fed, allowed to peak at room temperature, and then refrigerated less than six days ago, you can use it directly. Otherwise, it needs the room-temperature reactivation feedings described above to regain strength.
How long can sourdough starter live in the fridge without feeding?
Robust starter in a sealed jar can survive for several months without feeding. It will be very acidic and require a careful, multi-feeding revival (starting with a 1:5:5 ratio), but the core culture often persists. For practical health, stick to the weekly schedule.
What if I see mold on my refrigerated starter?
Discard the entire contents immediately. Mold spores permeate the entire jar. Clean the jar thoroughly with hot soapy water, then sterilize it. Do not try to salvage any portion of the starter. This is why using a clean jar and a secure lid is critical, as noted in the university food safety publication.
Should I stir the hooch back in or pour it off?
It’s your choice. Pouring it off results in a milder-flavored starter and subsequent bread. Stirring it in incorporates the acids and alcohols, which can contribute to a more complex, tangier flavor in your bake. For a neglected starter, it’s often best to pour it off to reduce the overall acidity before feeding.
Can I refrigerate a new starter?
No. A starter needs to be at least a month old, preferably two, and consistently rising and falling before refrigeration. The microbial community isn’t stable enough to handle the dormancy. Establish it firmly at room temperature with daily feedings first.
The Bottom Line
The fridge is the practical home for a sourdough starter in most kitchens. It turns a high-maintenance pet into a low-effort ingredient. Commit to the weekly 1:2:2 feeding, use a large enough lidded jar, and learn to read the signs of hooch versus mold. When baking day comes, give it a 24-hour head start and feed it until it doubles on schedule.
That’s the entire system. It preserves your starter indefinitely, ready to transform into a loaf whenever you are. The rest, the specific flour, the water temperature, the perfect bread recipe, is a matter of taste. Your starter, safely stored, is your foundation.
