
Master How to Water Bath Canning | The Crucial Altitude Factor
This post contains affiliate links. As an Amazon Associate, we earn from qualifying purchases.
Water bath canning requires matching three things: a high-acid food (pH 4.6 or lower), a pot deep enough to cover jars with 1 to 2 inches of briskly boiling water, and an adjusted processing time for your altitude. The most common failure point is ignoring altitude, at 3,000 feet, you must add 5 minutes to the base time or risk a weak seal and spoilage.
That altitude rule isn’t a suggestion. It’s a direct consequence of physics. Water boils at a lower temperature as you climb, so the heat hitting your jars is less lethal to microbes. Your recipe’s base time, written for sea level, becomes a guess. Adding those minutes restores the safety margin.
What follows: the short tool list that actually matters, the seven non-negotiable steps from preheat to cool-down, the altitude chart you need to tape to your cabinet, and what to do when the boil stops, because that decides whether your jam is safe or a science project.
Key Takeaways
- You must adjust processing times for altitude. At 1,001–3,000 feet, add 5 minutes. This is the single most skipped step that leads to spoiled jars.
- Use only high-acid foods (pH 4.6 or below): fruits, jams, pickles, tomatoes, and salsa. Low-acid foods like vegetables and meat require a pressure canner.
- The water must maintain a vigorous, rolling boil for the entire processing time. If it stops, bring it back to a full boil and restart the timer from zero.
- Let jars cool undisturbed for 12 to 24 hours on a towel before you check the seal. Moving them early can break the forming vacuum.
- Store sealed jars in a cool, dark place (50–70°F) for best quality. They’re safe beyond a year, but flavor and nutrition fade.
The Tool Shortlist (What You Actually Need)
You do not need a specialty “canner” pot. A large stockpot with a flat bottom and a tight-fitting lid works if it’s deep enough. The real necessities are fewer than the store aisle suggests.
Common mistake: Buying a cheap, thin-walled “canner” pot. Those often rust through in a few seasons and don’t hold heat evenly on electric burners. A heavy-duty stockpot is a better investment.
Your core kit is five items: 1. A deep pot (boiling water canner). It must hold enough water to cover jar tops by 1 to 2 inches. For electric stoves, the bottom must be completely flat. 2. A rack. This keeps jars off the direct bottom heat, preventing cracks and letting water circulate. A cake cooling rack or even a folded towel works in a pinch. 3. A jar lifter. This is non-negotiable for safely lifting hot, slippery jars. Tongs can slip. 4. A canning funnel. This keeps rims clean for a good seal. It’s the one specialty tool worth buying. 5. Jars, lids, and bands. Use purpose-made mason jars like Ball or Kerr. New lids are required each time; bands can be reused.
The rest, bubble removers, lid wands, are helpful but not essential. A clean chopstick de-bubbles. A magnetic wand is nice but not needed if you use tongs. Focus your budget on the pot, the lifter, and the funnel.
Is Your Food Safe for the Water Bath?
This step decides everything. Water bath canning only works for high-acid foods, meaning a pH of 4.6 or lower. The acid prevents botulism bacteria from growing.
| Safe for Water Bath | NOT Safe for Water Bath |
|---|---|
| Fruits (peaches, berries, apples) | Green beans, carrots, corn |
| Jams, jellies, fruit spreads | Meats, poultry, fish |
| Pickles (vinegar-brined) | Soups, stews, broths |
| Tomatoes (with added acid) | Mushrooms, asparagus |
| Salsas (from tested recipes) | Pureed squash or pumpkin |
If you can low-acid food in a water bath, you are creating a risk for botulinum toxin, odorless, tasteless, and deadly. When you want to preserve fruit, the water bath is perfect. For anything else, you need a pressure canner. Always use a tested, current recipe from an authority like the K-State Research and Extension canning guide. Pinterest recipes from 2012 are not safety guides.
The 7-Step Process, Start to Finish
Follow this sequence exactly. Deviating on timing or temperature is how jars don’t seal.
1. Prepare Your Jars and Equipment
Wash jars, lids, and bands in hot, soapy water. You can sterilize jars by boiling them for 10 minutes or heating them in a 225°F oven for 10 minutes. Keep everything hot until filling. Cold glass + hot food = cracked jars. For a deep dive on this, see our guide on how to sterilize jars.
Place the rack in your pot. Fill it halfway with water. For raw-packed foods (like cold fruit), preheat this water to 140°F. For hot-packed foods (like simmering jam), preheat to 180°F.
2. Fill the Jars
Working with one hot jar at a time, use your funnel to fill it with your prepared food, leaving the headspace specified in your recipe (usually ¼ inch for jams, ½ inch for fruits). Slide a non-metallic tool around the inside to release air bubbles. Wipe the jar rim clean with a damp cloth. Any residue breaks the seal.
Place a hot, new lid on the jar, then screw the band on fingertip tight, just until you feel resistance. Overtightening can distort the lid and prevent sealing.
3. Load the Canner
Using the jar lifter, place each jar onto the rack in the preheated pot. Ensure jars aren’t touching each other or the pot sides. Add more boiling water if needed so water covers jar tops by 1 to 2 inches. Pour water between jars, not directly on them, to avoid thermal shock.
4. Process for the Correct Time
Put the lid on the pot. Turn heat to its highest setting and bring the water to a full, rolling boil. Only now do you start your timer.
If the water stops boiling at any time during the process, turn the heat to its highest setting, bring the water back to a vigorous boil, and restart the timer from zero. This is critical for safety, even if it affects texture.
5. The Critical Altitude Adjustment (and Why It Matters)
Here is the table you cannot skip. Your recipe’s base processing time is for 0–1,000 feet above sea level. Use this chart from the South Dakota State Extension canning guide to adjust.
| Your Altitude (feet) | Add This Many Minutes |
|---|---|
| 1,001 – 3,000 | 5 minutes |
| 3,001 – 6,000 | 10 minutes |
| 6,001 – 8,000 | 15 minutes |
| 8,001 – 10,000 | 20 minutes |
Find your altitude via a website or phone app. Ignoring this adds minutes of under-processing. Yeast and mold survive.
6. Cool Jars Completely
When processing time is up, turn off the heat. Remove the pot lid. Wait 5 minutes. This settling period reduces siphoning (liquid leaking from the jar). Then, use the jar lifter to move jars to a towel-covered surface, leaving at least 1 inch between them. Do not place them on a cold counter or in a draft.
Do not touch the bands. Do not tilt the jars. Let them sit, undisturbed, for 12 to 24 hours.
7. Test the Seal and Store
After the full cooling period, check each seal. Press the center of the lid. It should not flex up or down. You can also tap it with a spoon, a clear, high ping means sealed; a dull thud means failed.
Remove the bands from sealed jars. Wash the outside to remove any food residue, label with contents and date, and store in a cool (50–70°F), dark, dry place. For the best quality, plan to use them within a year. A failed seal? Refrigerate that jar and eat its contents within a few days. You can also reuse lids from those jars for dry storage, but never for canning again.
Troubleshooting: When Things Go Wrong
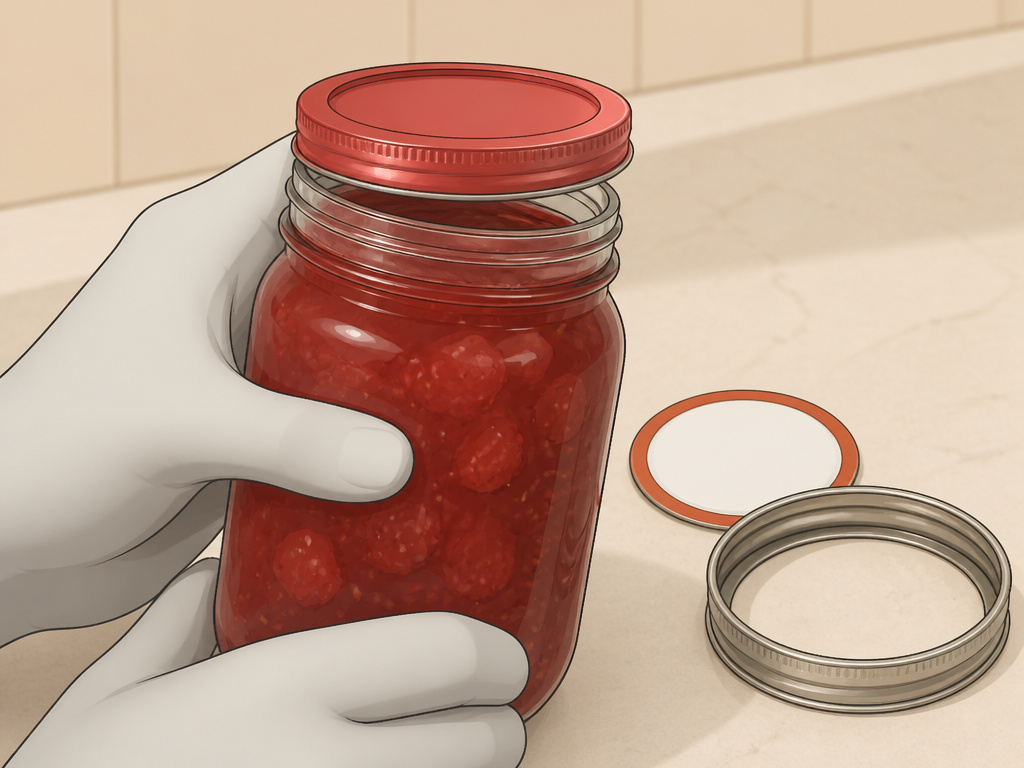
Even with care, issues pop up. Here’s how to diagnose the common ones.
| Problem | Likely Cause | The Fix |
|---|---|---|
| Jar didn’t seal | Food residue on rim, incorrect headspace, old or dented lid | Refrigerate and eat soon. Always use new lids and wipe rims perfectly clean. |
| Liquid leaked out during processing (siphoning) | Jars cooled too fast, temperature fluctuated, over-tightened band | The food is still safe if the seal is good. Wait the full 5 minutes before removing jars. |
| Cloudy liquid in pickles | Hard water minerals, table salt (which contains anti-caking agents) | Use soft or distilled water and always use pure pickling salt. |
| Fruit floats to top of jar | Fruit is less dense than syrup, air trapped inside fruit pieces | Use a hotter pack method, slice fruit smaller, and remove bubbles thoroughly. |
| Mold growth after storage | Under-processing, weak seal, food stuck on rim | Discard the entire jar. Do not scrape off mold and eat what’s underneath. |
If you see a bulging lid, spurting liquid when opened, or smell anything off, do not taste it. Discard the jar and its contents safely. When you follow a verified guide like the Virginia Cooperative Extension canning guide, these failures become rare.
Frequently Asked Questions
What’s the difference between water bath and pressure canning?
Water bath canning heats food to 212°F (100°C) and is only safe for high-acid foods. Pressure canning heats food to 240°F (116°C) or higher, which is necessary to destroy botulism spores in low-acid foods like vegetables and meat.
Can I use any big pot I have at home?
Yes, if it’s deep enough to cover jars with 1-2 inches of water and has a flat bottom (for electric stoves). You must also have a rack for the bottom. A dedicated canning pot is convenient but not a strict requirement.
How long do home-canned foods last?
For best quality and nutrition, aim to consume them within one year. They may be safe to eat longer if the seal remains intact, but flavor, color, and vitamin content decline. Always inspect before opening.
Why do recipes say not to use wax for sealing anymore?
The paraffin wax method is outdated and unreliable. It cracks easily, allowing air and mold in. The two-piece metal lid and band system creates a proven vacuum seal. Always use modern canning lids.
Do I need to buy a special canning kit?
Not necessarily. You can piece together the essentials. However, a beginner kit often includes the jar lifter, funnel, and bubble remover at a good value, saving you the hunt.
Can I can without sugar?
Yes, for many fruits. You can use water, unsweetened juice, or light syrups. However, sugar is a preservative that helps maintain color and texture. Follow a tested recipe for no-sugar options to ensure safety.
Before You Go
Water bath canning turns summer abundance into winter treasure. The barrier isn’t skill, it’s precision. Match the acid, cover the jars, adjust for altitude, and maintain the boil. Your reward is a shelf of food you put up yourself.
Get your essential supplies together, pick a simple recipe like strawberry jam from the Michigan State University canning basics, and run through the seven steps. The first ping of a sealing lid is a sound you won’t forget.
