
Stop Freezer Burn: Follow This 4-Step Guide for Fresh Food
This post contains affiliate links. As an Amazon Associate, we earn from qualifying purchases.
To prevent freezer burn, you need four things working together: a freezer held at 0°F (-18°C), airtight packaging that pushes out air, a loading strategy that freezes food within 24 hours, and an organized inventory to rotate stock. The science is simple—moisture evaporates from the food’s surface into the dry freezer air, leaving behind dry, discolored patches.
That evaporation happens because your freezer is a desert. The air inside is extremely dry to prevent ice buildup on the coils. Unprotected food is a source of moisture, and the freezer will happily suck it out. This isn’t a flaw; it’s how the appliance works. Your job is to build a barrier.
What follows breaks down each of the four pillars, grounding the advice in the manuals from brands like Bosch and the quantified research from the NDSU Agriculture Extension. You’ll learn why the common advice often fails, how to spot packaging that won’t hold up, and the one loading mistake that guarantees slow freezing and degraded texture.
Key Takeaways
- Set your freezer to 0°F (-18°C) and consider dropping it to -10°F 24 hours before adding a large batch of unfrozen food for faster freezing.
- Never use ordinary plastic bags, waxed paper, or non-freezer-specific containers. Opt for vacuum sealing, freezer bags with a proper seal, or containers marked as freezer-safe.
- Load only 2 to 3 pounds of unfrozen food per cubic foot of freezer space within a 24-hour period to avoid slowing the freezing process.
- Keep a simple inventory list. Use the oldest items first to prevent food from languishing for months, which increases the risk of freezer burn even in good packaging.
- Ensure air can circulate around new packages by placing them against the freezing plates or coils and not directly touching already-frozen items.
The Four Pillars of Freezer Burn Prevention
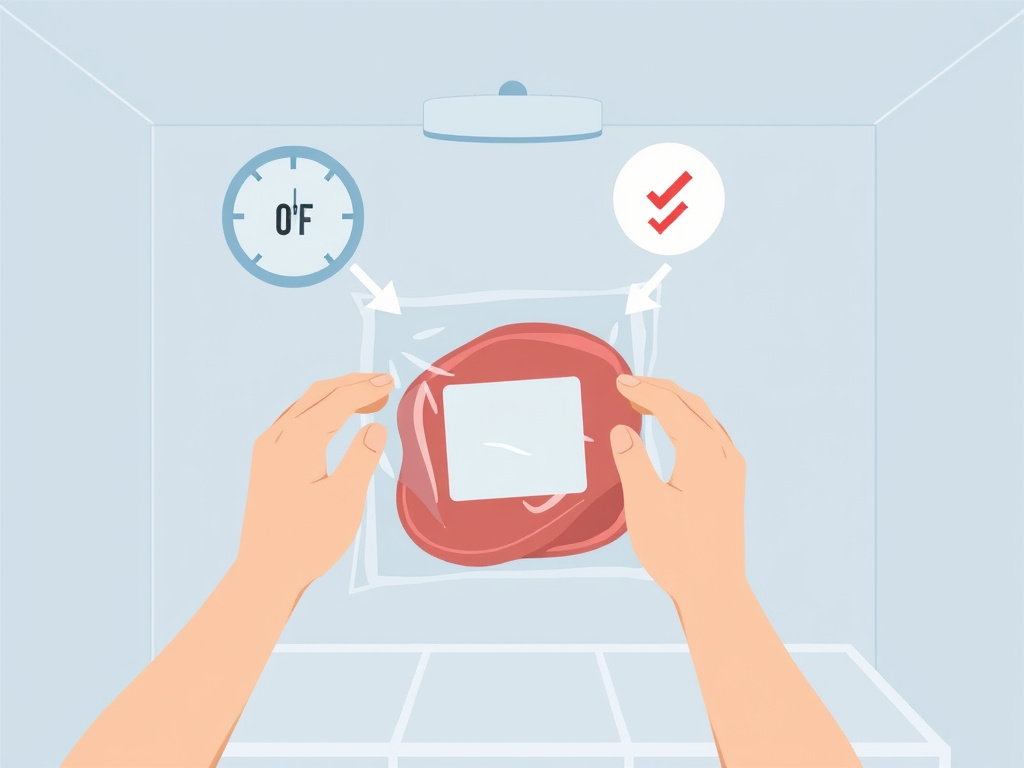
[Freezer burn](https://foodkeepy.Preventing freezer burn is a system, not a single trick. If one part fails, the others must compensate.Get two wrong, and you’ll be picking around greyish-brown patches on your chicken or steak.
The goal is to freeze food quickly and keep it sealed in a stable, cold environment. Speed matters because slow freezing forms large ice crystals that puncture cell walls. When those crystals later evaporate, they leave bigger cavities.
Freeze foods at 0 F or lower. To facilitate more rapid freezing, set the freezer at minus 10 F about 24 hours in advance of adding unfrozen foods. Place packages against freezing plates or coils. — NDSU Agriculture Extension, Food Freezing Basics
1. Temperature: The Non-Negotiable 0°F
Your freezer’s thermostat is the first commander. The universal standard for long-term food storage is 0°F (-18°C). At this temperature, microbial activity is paused, and chemical changes slow to a crawl.
But not all freezers are equal. An empty freezer fluctuates more than a full one. An old freezer might struggle to hold zero on a hot day. The “set it and forget it” mentality fails here. You need to verify.
Do you actually know what your freezer’s average temperature is? Most people don’t. Use a standalone freezer thermometer. Place it in the middle of the compartment, wait 24 hours, and check. If it reads 5°F or 10°F, you’ve found the root cause of your freezer burn problems. Adjust the dial until the thermometer consistently shows 0°F or slightly below.
Manufacturers like Bosch specify –18 °C for long-term storage. Electrolux states a freezer operates most efficiently when it is at least two-thirds full. A full freezer maintains temperature better during door openings and power hiccups.
2. Packaging: Your First Line of Defense
Packaging is your food’s spacesuit. It exists to hold in moisture and keep out the freezer’s dry air. The wrong material is a death sentence.
| Packaging Type | Best For | Why It Can Fail |
|---|---|---|
| Vacuum Sealer Bags | Meats, bulk vegetables, meal prep. | Seals can fail if the bag is wrinkled at the seal line. |
| Freezer-Grade Zipper Bags | Fruits, baked goods, pre-portioned items. | The zipper track can deform over time, letting air seep in. |
| Rigid Freezer-Safe Containers | Soups, stews, liquids, delicate items. | If not filled to the brim, the headspace inside allows for ice crystal evaporation. |
| Freezer Paper + Tape | Irregularly shaped meats, fish. | The wax coating can crack if folded too tightly, breaking the moisture barrier. |
Ordinary waxed paper, bread bags, and non-freezer-specific plastic containers are porous over time. The NDSU guide explicitly warns against them for long-term storage. Freezer tape is different from masking or packing tape—its adhesive is formulated to stay sticky at sub-zero temperatures.
The physical act of sealing matters as much as the material. For bags, the water displacement method works: submerge the filled bag in a bowl of cold water (keep the opening dry) to push air out before sealing. For containers, use a piece of plastic wrap pressed directly onto the food’s surface before snapping the lid on to minimize air contact.
Common mistake: Leaving excessive headspace in a container. The air inside isn’t inert. It’s a reservoir that pulls moisture from the food’s surface, leading to freezer burn on the top layer within two months.
3. Loading & Airflow: The Forgotten Science
You have the right packaging. Your freezer is at 0°F. You load it with 20 pounds of warm leftovers and shut the door. You’ve just failed.
Warm food raises the temperature of the entire chamber. The freezer motor kicks into overdrive, but it can only cool so fast. If the cooling is too slow, the food sits in a dangerous zone where large ice crystals form. The NDSU provides a clear limit: add only 2 to 3 pounds of unfrozen food per cubic foot of space within 24 hours.
Bosch’s manual adds another rule: don’t let new food touch already frozen food. Place new items across the whole area of the baskets. Push the baskets in fully to allow air to circulate around them. This circulation is what carries heat away from the food.
Think of your freezer’s shelves and walls as the cooling system. To freeze quickly, packages need contact with these cold surfaces. After they’re solid, you can stack them tightly for storage efficiency.
4. Inventory & Rotation: Be Your Own Quality Control
Freezer burn is a function of time. Even perfect packaging will eventually fail if food is forgotten for a year or two. Oxidation and very slow moisture transfer still occur.
Keep a list on the freezer door or in a notes app. Write down what you added and the date. The rule is first in, first out. Before you buy more frozen peas, use the bag you bought eight months ago. This simple habit is the difference between a freezer full of reliable ingredients and a graveyard of mystery packages coated in frost.
How to Freeze Common Foods Without the Burn
Different foods have different enemies. Bread fears dryness. Berries fear large ice crystals. Meat fears both.
Meat, Poultry & Fish
These are the most vulnerable due to their high moisture content and surface area. 1. Pat dry. Surface moisture instantly turns into frost, which then sublimates. 2. Double-wrap for long storage. First, wrap tightly in plastic wrap or freezer paper, pressing out air pockets. Then, place in a freezer bag or vacuum-seal. 3. Freeze in meal-sized portions. Thawing and refreezing is a guaranteed path to texture loss and burn.
Fruits & Vegetables
Most vegetables need blanching before freezing to deactivate enzymes that cause spoilage and off-flavors. After blanching and cooling, spread them in a single layer on a baking sheet (a “flash freeze”) until solid, then transfer to bags. This prevents them from freezing into a solid, unusable block.
Fruits like berries can be frozen dry on a tray. For peaches or apples, a light syrup pack (sugar dissolved in water) helps protect their texture and color by limiting air exposure.
Breads, Soups & Leftovers
Let all cooked foods cool completely to room temperature before packaging. Steam trapped inside will condense into ice crystals. * Bread: Slice before freezing. Take out only the slices you need. * Soups/Stews: Leave ½ inch of headspace in rigid freezer-safe containers to allow for expansion as the liquid freezes. * Casseroles: Line the baking dish with foil, add the food, freeze until solid, then pop out the frozen block and wrap it. You get your dish back.
What to Do If Your Freezer Fails
A power outage or mechanical failure is a race against time. The NDSU guide provides the critical data: a fully loaded, unopened freezer will keep food frozen for about two days. A half-full freezer only about one day.
If you know the outage will last, your best bet is dry ice. Do not open the door to check. If you must move food, use insulated coolers. Once power returns, check each item. If it still contains ice crystals or is below 40°F, it can be refrozen. When in doubt, the rule is simple: if you wouldn’t feel safe eating it, don’t refreeze it.
Frequently Asked Questions
Can you eat freezer-burned food?
Yes, it’s safe. Freezer burn is a quality issue, not a safety one. The affected areas will be dry, tough, and flavorless. You can trim off the burned portions before cooking.
Does vacuum sealing prevent freezer burn?
Absolutely. Vacuum sealing is the most effective method because it removes the air that causes oxidation and moisture evaporation. It’s the gold standard for long-term storage of meats and other high-value items.
What’s the ideal freezer temperature?
The ideal freezer temperature is 0°F (-18°C) or lower. This is the standard recommended by appliance manufacturers like Electrolux and Bosch, as well as food safety authorities, for long-term storage.
How long does it take for freezer burn to happen?
It depends on packaging and temperature. Poorly wrapped meat can show signs in a month. Well-wrapped food in a stable 0°F freezer can last 6-12 months without issue. The key is minimizing air exposure and maintaining temperature.
Are freezer bags better than regular bags?
Yes, definitively. Freezer bags are made from thicker, less porous plastic with a more robust seal. Regular storage bags are too thin and allow moisture vapor to pass through over weeks, leading to burn.
Can you prevent freezer burn in a frost-free freezer?
You can, but it requires extra diligence. Frost-free freezers work by periodically warming slightly to melt frost, which can accelerate temperature fluctuations. Use high-quality, airtight packaging and avoid storing food for extreme lengths of time.
The Bottom Line
Freezer burn is a physical process of moisture loss through evaporation and oxidation.Win the fight by controlling what you can: the cold with a verified 0°F setting, the seal with vacuum bags or freezer-grade materials, the speed by not overloading, and the timeline with a rotation list.
Start with your freezer’s temperature. Check it today. Then, audit your packaging. Toss the flimsy bags and invest in a roll of proper freezer paper or a stack of quality containers. Finally, spend five minutes organizing your freezer and making an inventory list. These simple, consistent steps maintain food’s intended flavor.
